The Sitecore Hackathon 2020 starts in less than 48 hours and I am getting ready to participate for my second consecutive year with my team, The Prod Squad. One important recommended task to execute before the contest starts is to setup a local development environment, installing the required version of the Sitecore platform. This year the implemented module should be based on Sitecore XP 9.3 and, if you are considering commerce, it should be based on Sitecore Experience Commerce 9.3.
I don’t know yet if we are going to develop a module on Sitecore Commerce this year, but last night I decided to get ready for it and try to install it on my laptop. I have done a good number of Sitecore Commerce 9.1 on-premises installations in the last few months and a lot of manual steps, hacks and fixes were involved to make the installation successful.
Last night I installed Sitecore Commerce 9.3 on my laptop and I managed the entire installation process, including prerequisites installation and parameters configuration, in less than 2 hours! I have encountered only a couple of issues during the installation process and I will describe them in this blog post, starting with some tips that will make your installation process smoother.
Read the documentation
As any software installation, the most imporant task for a successful installation is reading the documentation that describes the installation steps. I spent the first hour of the entire process in executing preliminary tasks, like reading the on-premises installation guide and verifying that I had all the required installation prerequisites on my laptop. Don’t rush this phase!
Prerequisites installation
If your last Sitecore Commerce installation was done with Sitecore Commerce 9.1 (like it was for me), few prerequisites have changed in this release. These are the most important ones that you should look at:
- PowerShell 6 or later is required. Starting from version 6, PowerShell is distributed in a new cross-platform software, called PowerShell Core, that is installed on your machine as a separate software, without replacing your existing PowerShell installation. If you have .NET Core SDK installed, you can install PowerShell Core with the following command:
dotnet tool install --global PowerShell
- Install the latest version of Redis.
- Install .NET Core SDK 2.1.7 (also versioned as 2.1.503). New versions of this SDK are available, but the installation guide calls for a specific version, that can be downloaded here.
Other few prerequisites are called in the installation guide and you should carefully check and implement all of them.
One prerequisite not directly called out in the documentation is to create a sandbox account on the Braintree payment gateway platform. The Sitecore Commerce installation parameters have a section to configure the Braintree API account parameters, used to configure the Braintree payment policy in the Commerce Engine. Setting up a sandbox account with Braintree is very easy.
Configure your parameters
There are a lot of parameters in the Deploy-Sitecore-Commerce.ps1 script, but you will probably need to configure or change only some of them in this file (or in a copy of it, as recommended in the installation guide). These are the ones that I had to change:
[string]$MergeToolFullPath– This is the path to the location where you downloaded the Microsoft.Web.XmlTransform.dll file. In my case, I had this dll directly in the installation folder where I extracted the installation package, so I configured this parameter with the following value:$XCInstallRoot\Microsoft.Web.XmlTransform.dll.[string]$SiteNamePrefix– This parameter needs to match the prefix used in the Sitecore XP 9.3 base installation where Sitecore Commerce is going to be installed on.[string]$SiteName– This is the name of the already installed Sitecore XP 9.3 instance. Its default value was"$SiteNamePrefix.sc". I had to changed it to match the name of my Sitecore instance that didn’t follow this default pattern.[string]$IdentityServerSiteName– Same as for the $SiteName parameter, the default value ("$SiteNamePrefix.IdentityServer") of the name of the Identity Server application of the Sitecore instance wasn’t applicable with my Sitecore Identity Server instance name and I had to change it.[string]$CommerceEngineConnectClientSecret– This parameter is the Commerce Engine Connect Client Secret for the Sitecore Identity Server, that you have generated in one of the prerequisites steps described in the Sitecore Commerce installation guide.[string]$SiteHostHeaderName– This parameter is the domain of the Storefront site. If you change it with a different domain, remember to update its value in the Hostname field of the Storefront SiteGrouping item (/sitecore/content/Sitecore/Storefront/Settings/Site Grouping/Storefront) after the installation is finished.[string]$XConnectInstallDir– This is the path to the xConnect application of your Sitecore instance. Its default value wasn’t matching the name of my instance and I had to change it.[string]$SitecoreDbServer– This is the name of SQL database server where the Sitecore XP databases are hosted. As its descriptive comment calls out, if you have a named instance, you will need to escape the back slash character (\\).[string]$SqlUserand[string]$SqlPass– These are the credentials for a sys admin user of the SQL database server where the Sitecore XP databases are installed.[string]$SearchIndexPrefix– This parameter is the prefix used in the search indexes of the Sitecore XP instance. Its default value is blank, but it should be"$SiteNamePrefix"instead.[string]$SolrUrl– This is the url of the Solr 8.1.1 instance. I changed it because my Solr service runs on a different port.[string]$SolrRoot– This is the path where the solr application is installed and it was different from the default path for me.[string]$SolrService– This is the name of the Solr service and it was different from the default name for me.[string]$CommerceServicesDbServer– This is the SQL database server where the commerce databases will be installed. I used the same value entered in the[string]$SitecoreDbServerparameter.[string]$CommerceServicesDbName– This is the name of the shared commerce database. I changed its value to use the prefix used in this entire installation:$SiteNamePrefix_SharedEnvironments.[string]$CommerceServicesGlobalDbName– This is the name of the global commerce database. I changed its value to use the prefix used in this entire installation:$SiteNamePrefix_Global.[string]$CommerceServicesPostfix– This is the suffix that is added to the name of the commerce engine applications.[string]$CommerceServicesHostPostfix– This is the suffix that is added to the hostname of the commerce engine applications in their IIS bindings.[string]$BizFxSiteName– This parameter is used on both the application name and the hostname for the Business Tools application.[string]$UserPassword– This parameter is the password used to create a local machine account user to run the commerce applications in IIS and to access the commerce databases. If you machine enforces a strict complexity password policy, be sure to set a password value that meets these standards.[string]$BraintreeMerchantId,[string]$BraintreePublicKey,[string]$BraintreePrivateKey,[string]$BraintreeEnvironment– These parameters are needed if you are configuring the Braintree payment policy. Their values can be found in your Braintree sandbox account. The[string]$BraintreeEnvironmentshould be set tosandboxvalue.
Where my installation failed
Once all prerequisites steps were performed and the parameters configuration done, I started the installation process in PowerShell executing the installation script.
The installation process executes 209 steps! It failed only twice for me, and both issues occurred when the installation process tried to perform the bootstrap task during the commerce engine initialization.
The first failure was caused because the Ops commerce engine application used for the bootstrap task (and all the other commerce engine applications as well) failed to run in IIS after its installation. It might have been caused by a security permission issue with the newly created user account used to run the commerce engine applications in IIS. I solved it changing the identity used to run them in IIS to use the ApplicationPoolIdentity built-in account.
The issue was fixed and the commerce engines were running in IIS now, but the bootstrap task was still failing. This second failure was caused by having wrong SQL credentials in the bootstrap wwwroot\bootstrap\Global.json configuration file in the Ops application (and in the other commerce engine applications as well). It seems that the installation script sets the wrong password value for the Sitecore.Commerce.Plugin.SQL.EntityStoreSqlPolicy policy configuration, using value configured for the SQL sys admin password ([string]$SqlPass) instead of the commerce user password ([string]$UserPassword). Once I manually fixed this, the bootstrap execution succeeded and the rest of the installation process was smooth.
Trick to resume a failed installation process
When the installation process fails and you need to make manual fixes like in my case, you cannot restart the installation process from the beginning, otherwise the manual fixes will be overridden. To avoid this and to save time, you can comment out the previous tasks that have been previously successfully executed in the \SIF.Sitecore.Commerce.4.0.31\Configuration\Commerce\Master_SingleServer.json file in your installation folder and in any of the included configuration files in the folders under \SIF.Sitecore.Commerce.4.0.31\Configuration\Commerce path.
For example, in order to resume the installation from the bootstrap commerce engine task, I had to comment out all the objects in the includes section of the Master_SingleServer.json file before the "CommerceEngine-Initialize" task, responsible to execute the bootstrap.
And it’s done!
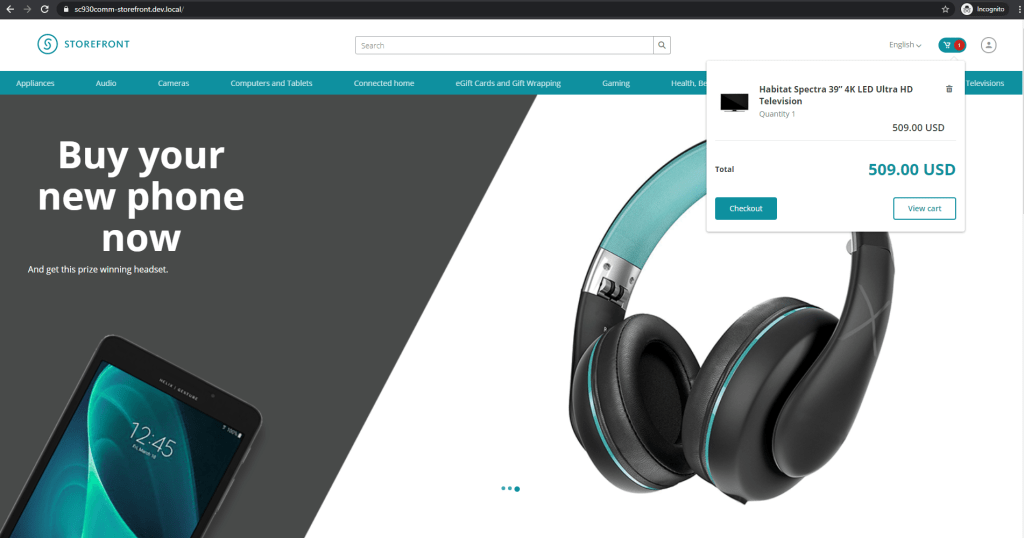
Once the installation process is finished and the post installation steps described in the installation guide are complete, there are no more steps to perform. The storefront site is ready to be used!
Conclusions
I am very pleased with the big improvements introduced in the on-premises installation process of the Sitecore Experience Commerce 9.3. If you were hesitant about installing it for the upcoming Sitecore Hackathon, I hope reading this blog post helped you to move forward with the installation. If you have any questions or if you encounter any new installation issues not mentioned in this post, feel free to leave a comment here.
Thank you for reading!
